How It Works
From unboxing to putting in 4 simple steps. No green thumb required.
Open Your Kit
Everything is in the box — the cup, display stand, grow light with fixture, custom soil mix, premium grass seed, and watering bulb.
- Pick a spot near an outlet for the grow light
- Set the display stand where you'll enjoy it daily
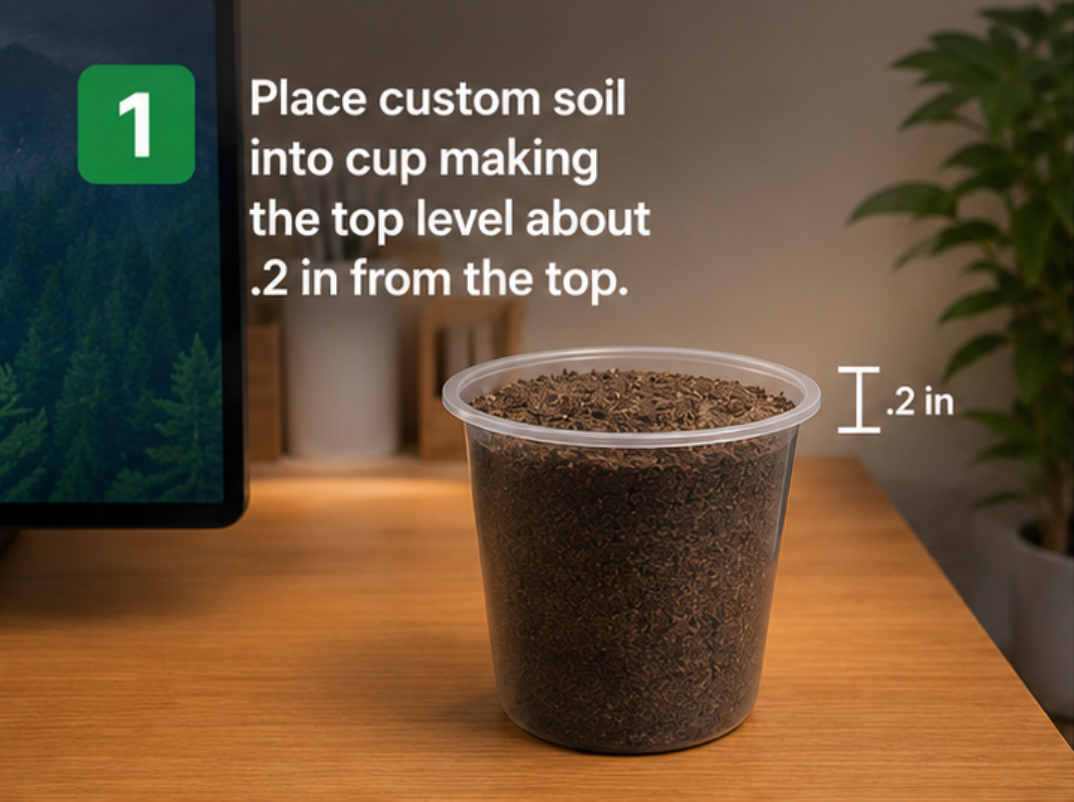
Add the Custom Soil Mix
Fill the cup with the included custom soil mix. Leave about half an inch from the top.
- The mix is pre-measured — use all of it
- Level it gently; don't compact it
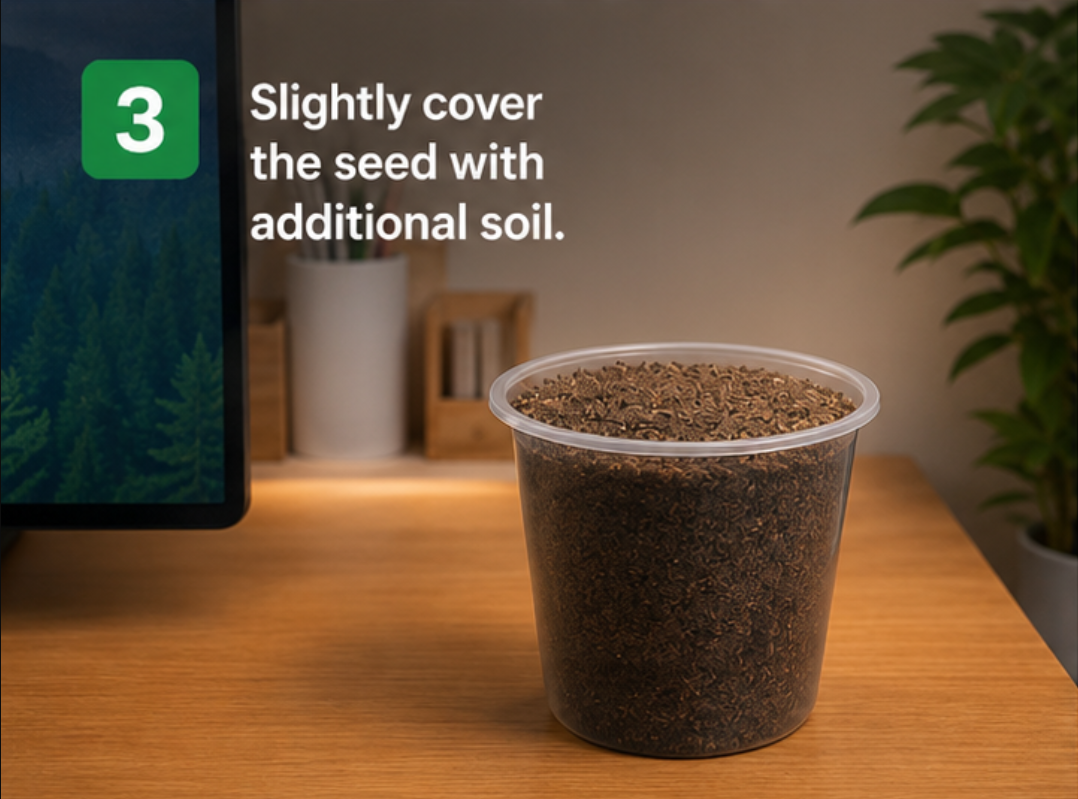
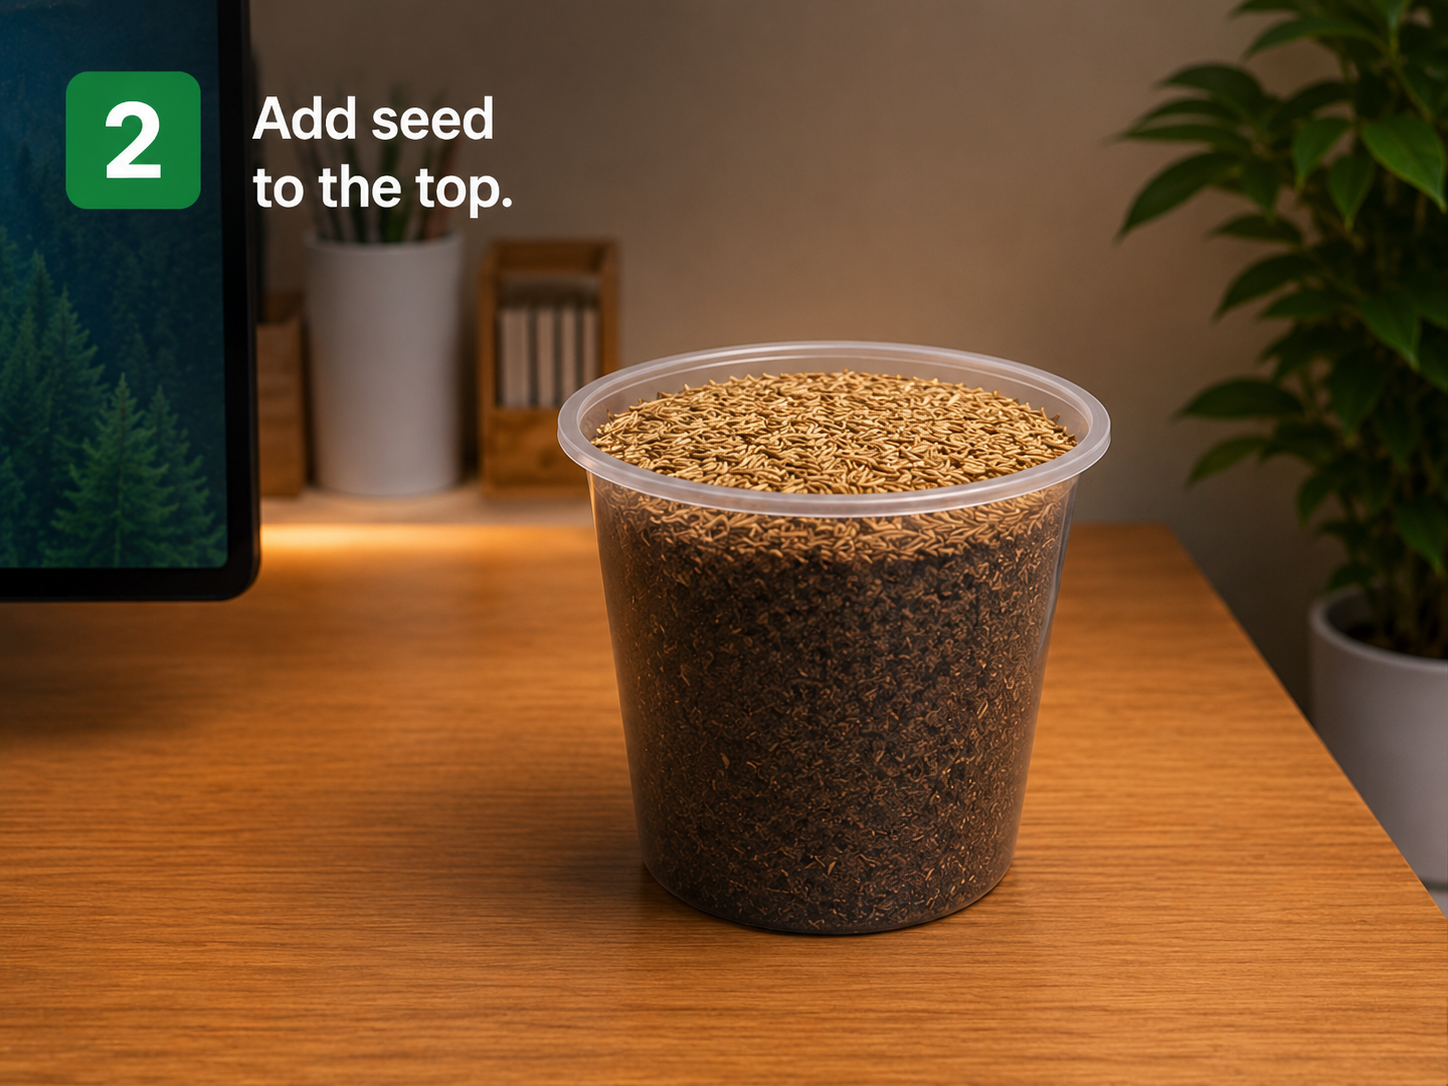
Sprinkle Your Seeds
Scatter your premium grass seed evenly across the surface. Lightly press it into the soil — it wants contact, not burial.
- Avoid clumping seeds in one spot
- A thin, even layer is better than a thick one
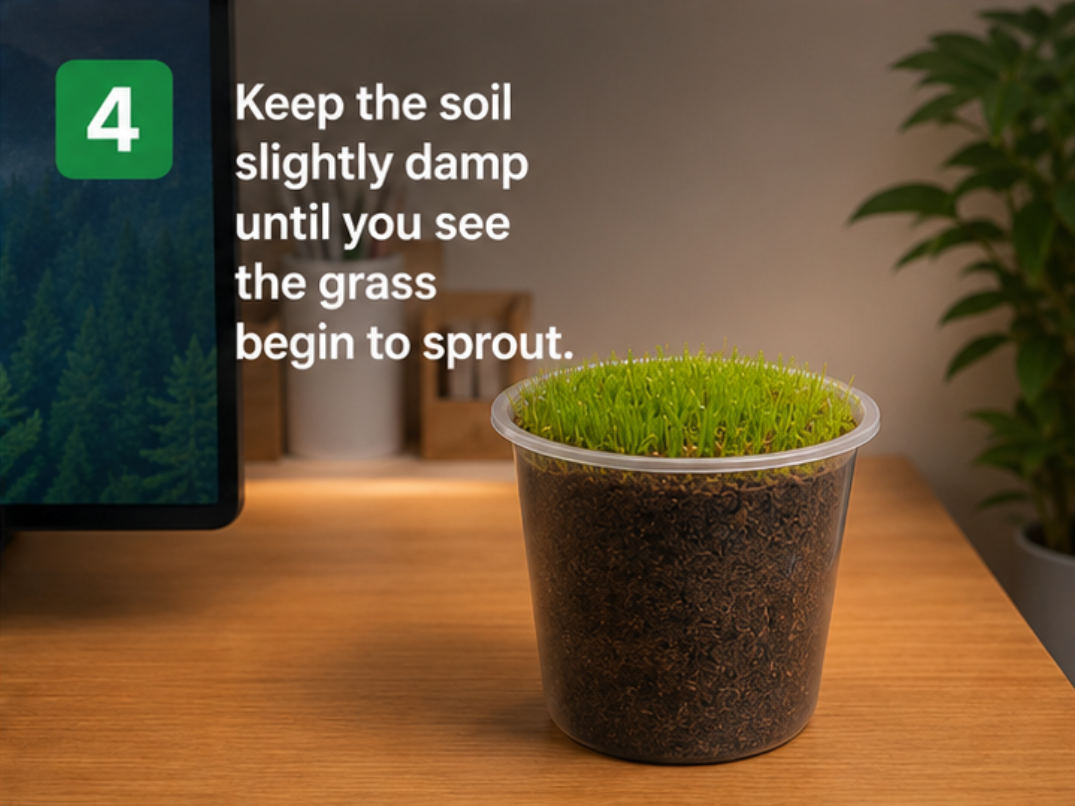
Light & Water
Position the grow light over your cup, then moisten the surface with the watering bulb. Keep it damp daily and let the light do the rest.
- Run the grow light 12–14 hours a day
- Moist, not soaked — the watering bulb gives you precision
- Grass takes 14–21 days to sprout — be patient
Ongoing Care
Watering
Use the included watering bulb once or twice daily. Keep the soil moist — never waterlogged.
Light
Your kit includes a grow light and fixture — run it 12–14 hours a day for a dense, healthy green.
Trimming
Once blades reach 1–2 inches, trim with small scissors to maintain that clean putting-green look.
Temperature
Grass prefers 60–75°F. Avoid cold drafts and heat sources near your cup.
What to Expect
No — it's a real growing hobby. With proper care, your green can last weeks to months.
Anywhere with an outlet. The included grow light means your green doesn't depend on a sunny window.
After germination, allow 2–3 weeks of growth and a few trims to achieve that smooth, dense putting-green look.